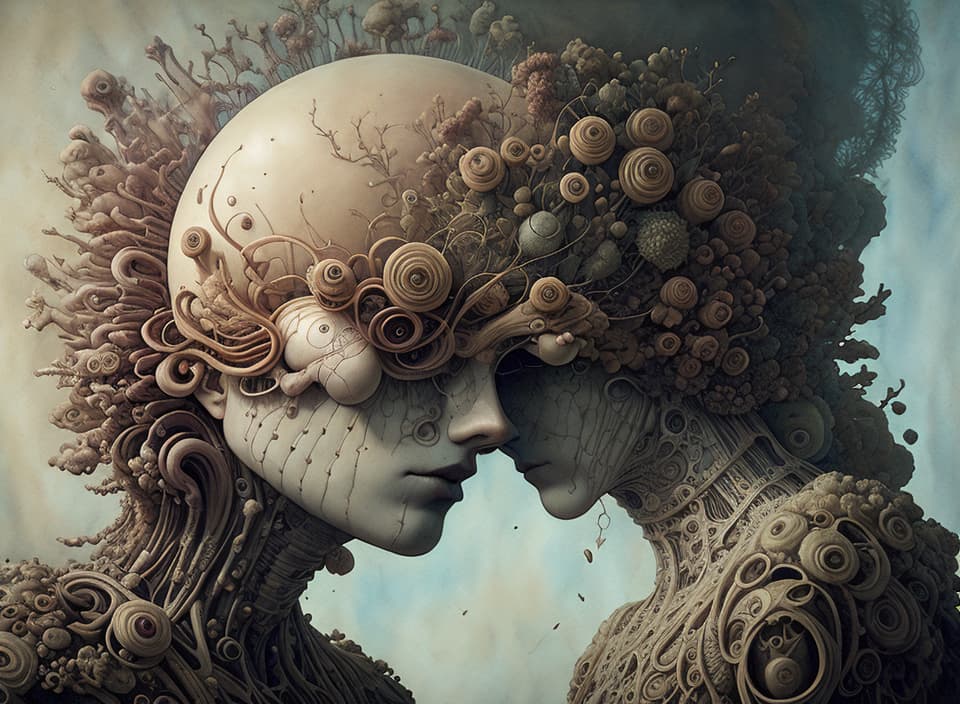
超高分辨率 - 7680x5632
- 使用到以下扩展内容
model(模型): Deliberate v2
Upscaler(升级器): 4x-UltraSharp (下载 .pth 文件到 models/ESRGAN, 重启GUI)
Upscale extension(扩展): Ultimate SD Upscale
1. 初次生成
按下面配置生成大量图片,直到有满意的图片为止;
Steps: 30, Sampler: DDIM, CFG scale: 7, Seed: 724884443, Size: 960x704, Model hash: 9aba26abdf (Deliberate v2)
2.高分辨率修复( High-res fix)
高分辨率修复。使用与第一步相同的设置和提示,选中了高分辨率修复选项以将分辨率加倍。增加去噪强度可以增加额外的细节,但也可能会引入“怪异”,例如随机的面孔、四肢等,它们会突然出现在整个图片中。将它设置得太低,您会看到来自升频器的伪像。我发现 0.15-0.3 与 4x-UltraSharp 升频器配合得很好。
Steps: 30, Sampler: DDIM, CFG scale: 7, Seed: 724884443, Size: 960x704, Model hash: 9aba26abdf, Denoising strength: 0.25, Hires upscale: 2, Hires upscaler: 4x-UltraSharp
3. Ultimate SD Upscale
图像被加载到 img2img 中。稍微编辑了最初的提示,删除了“女人”这个词,以尽量减少随处可见的随机女性小脸的影响。设置保持不变,从扩展中引入了一些新参数(单击底部附近的“脚本”并选择 Ultimate SD Upscale)。您可以在此处使用 0.15-0.2 的去噪强度,但我发现 0.25 对这张特定图片有效。
Steps: 30, Sampler: DDIM, CFG scale: 7, Seed: 724884443, Size: 3840x2816, Model hash: 9aba26abdf, Denoising strength: 0.25, Mask blur: 4, Ultimate SD upscale upscaler: 4x-UltraSharp, Ultimate SD upscale tile_width: 512, Ultimate SD upscale tile_height: 512, Ultimate SD upscale type: Chess, Ultimate SD upscale mask_blur: 8, Ultimate SD upscale padding: 32
4. 再次 Ultimate SD Upscale
使用第 3 步生成的图像,我再次使用了几乎完全相同的设置,除了去噪强度和拼贴高度。这次我将降噪设置为 0.15,并将瓷砖高度/重量增加到 1024,以防止出现不需要的怪异现象。提示与步骤 3 中的相同。
Steps: 30, Sampler: DDIM, CFG scale: 7, Seed: 724884443, Size: 7680x5632, Model hash: 9aba26abdf, Denoising strength: 0.15, Mask blur: 4, Ultimate SD upscale upscaler: 4x-UltraSharp, Ultimate SD upscale tile_width: 1024, Ultimate SD upscale tile_height: 1024, Ultimate SD upscale type: Chess, Ultimate SD upscale mask_blur: 8, Ultimate SD upscale padding: 32
